Trusted by innovative companies


Where practical AI automation drives ROI, not trendy technology promises
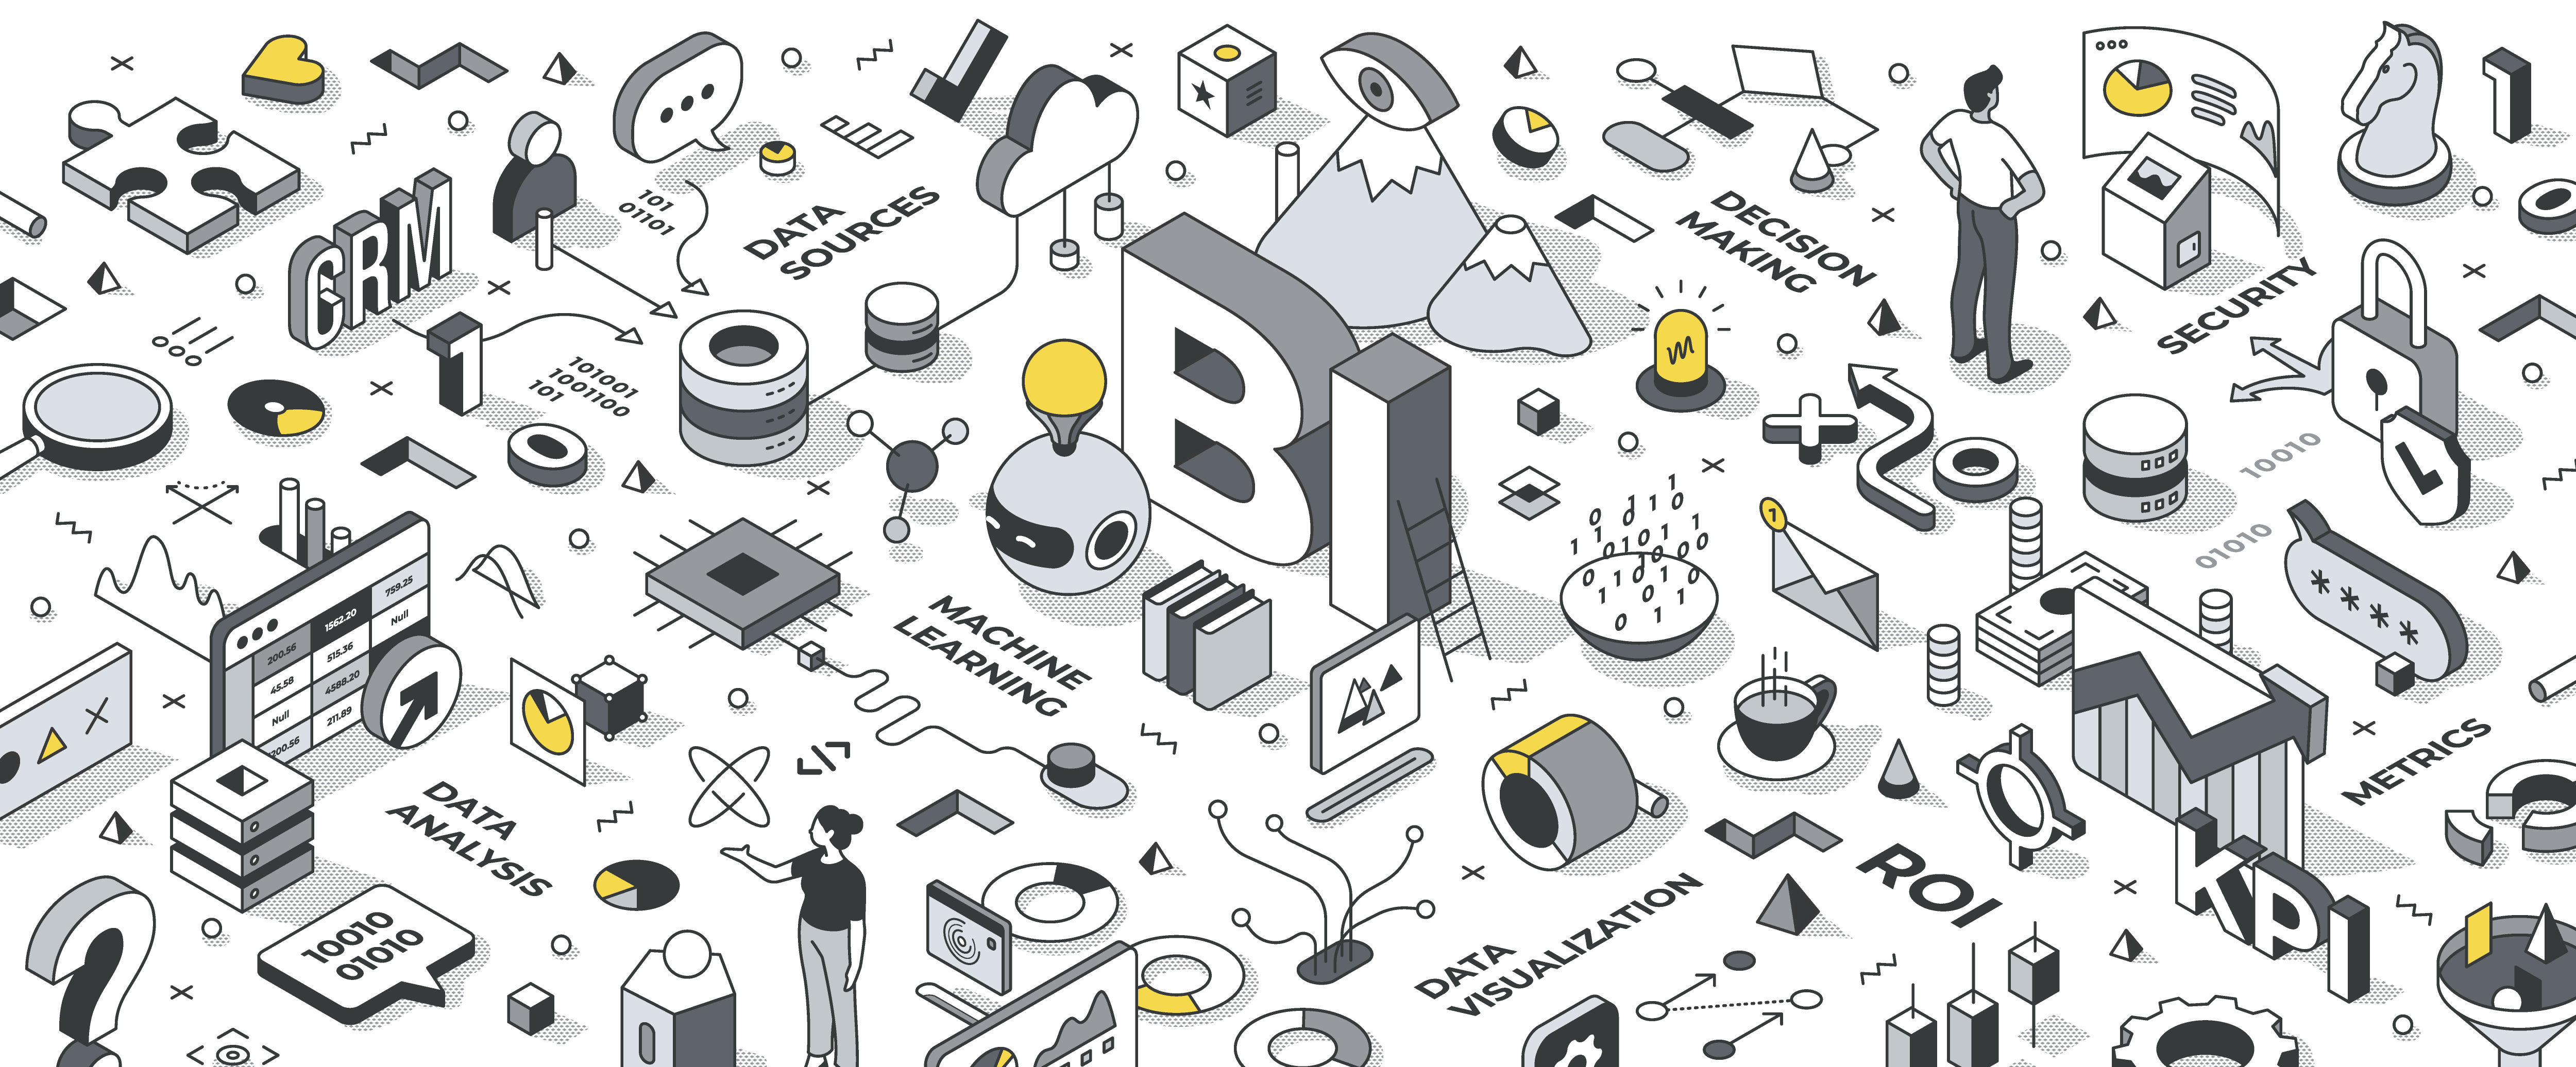
Effective AI automation prioritizes tangible business outcomes over flashy features. When implemented strategically, these solutions solve real operational challenges and deliver measurable performance improvements across your organization.
Properly implemented AI shortens sales cycles by 28% by prioritizing high-potential prospects and recommending next-best actions for sales teams. Companies report 35% higher conversion rates and 24% larger average deal sizes when replacing intuition-based selling with data-driven engagement strategies.
AI implementation in core operations reduces process handling times by up to 65% while eliminating 73% of manual errors. This translates to average cost savings of 28-42% in transaction-heavy business functions while improving compliance and consistency across operations.
AI implementation reduces inventory carrying costs by 32% while simultaneously decreasing stockouts by 47%. This dual optimization solves the traditional tradeoff between capital efficiency and product availability, improving both financial performance and customer satisfaction.
AI transforms marketing from campaign-based to continuous optimization, reducing customer acquisition costs by 31% while improving targeting precision. Organizations implementing AI-driven marketing report 43% higher ROI on advertising spend and 37% improvement in qualified lead generation.
AI enables proactive customer experience management, identifying satisfaction issues before they lead to churn. Organizations report 36% improved retention rates and 27% increased customer lifetime value through early intervention systems and personalized engagement capabilities.
Discover how strategic automation can deliver measurable value and tangible ROI for your business operations.
Request Value Assessment
We integrate AI technology directly into your business processes. Our solutions create systems that improve automatically over time. We eliminate repetitive tasks while giving your team powerful insights and smart decision-making tools to work more effectively.
Specializing in sales pipelines, marketing campaigns, HR processes, customer service, and financial operations automation.
Achieve tangible results through strategic automation. Cut manual data entry by 60-80%. Boost team productivity by 40-50%. Reduce acquisition costs by 25-35%. Our methodology ensures solutions perfectly aligned with your unique business challenges and growth objectives.
Integrate AI seamlessly into existing processes without disruption. Scale intelligent workflows that enhance human decision-making. Bridge the gap between cutting-edge technology and practical business applications with flexible architectures designed to evolve with emerging technologies.
Leverage the industry's most powerful platforms including make.com, AWS, OpenAI, and Anthropic through our specialized expertise. As a make.com Gold Partner, we implement automation solutions using only the most innovative and reliable technologies. Transform your business processes with tools specifically selected to deliver maximum impact for your unique operational challenges.
LeadFlow Marketing Agency transformed lead generation using Value Added Tech’s AI automation. By integrating GoHighLevel, Vapi.ai, and Make.com, they achieved 500% ROI, reduced costs 60%, cut response time to 10 seconds, and generated 1,000+ daily leads while decreasing staff by 70% and increasing revenue $150,000 annually.
KEEP READINGDiscover how Value Added Tech addresses challenges in automating business with Make.com, offering innovative solutions like automated scenario monitoring and robust backup systems. Learn about our strategies to maintain development standards and prevent failures caused by updates, ensuring efficient and reliable operations.
33% of enterprise software will include agentic AI by 2028. Get Gartner's report to prepare your organization today.
See how we helped a US-based marketing agency automate appointment booking for 600 clients, achieving a 60% reduction in operational costs.